

Installing and Configuring OpenWRT on TP-Link TL-WR841N Router
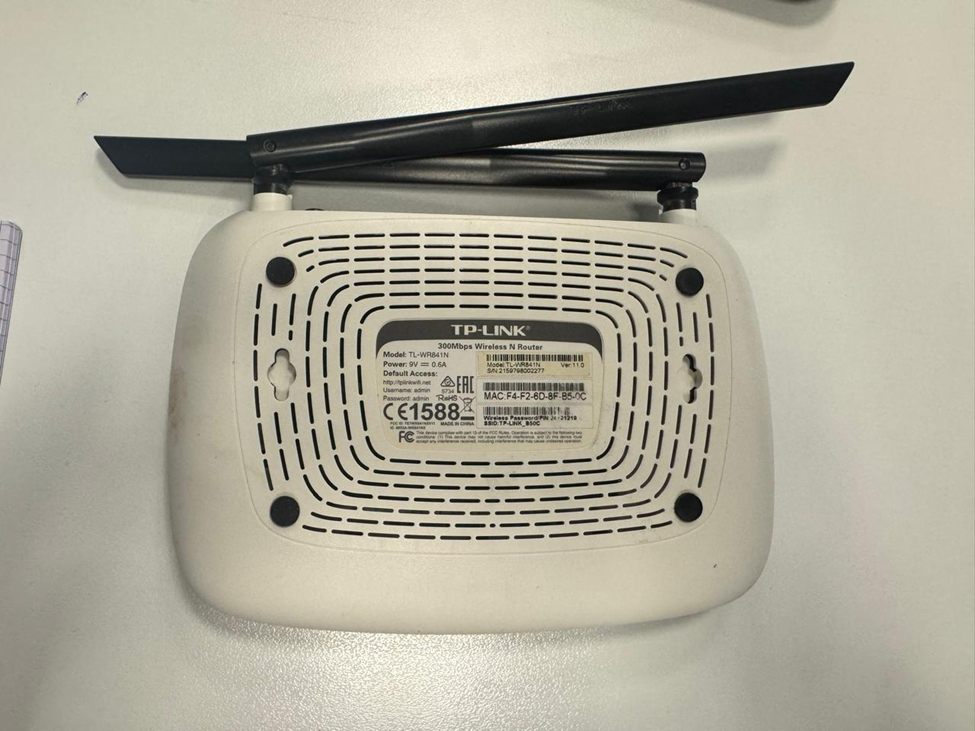
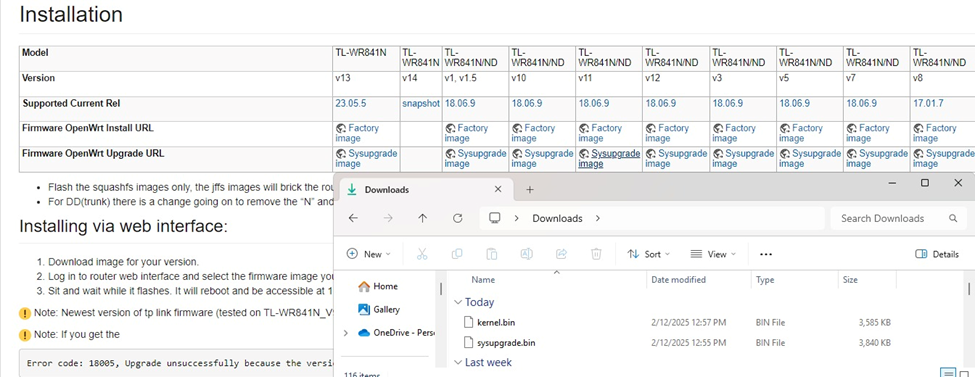
1. Firmware Search and Installation
First, the appropriate firmware for the router was searched. Before starting the operations, the compatible firmware (sysupgrade and factory image) for our model was downloaded from the official OpenWRT website.
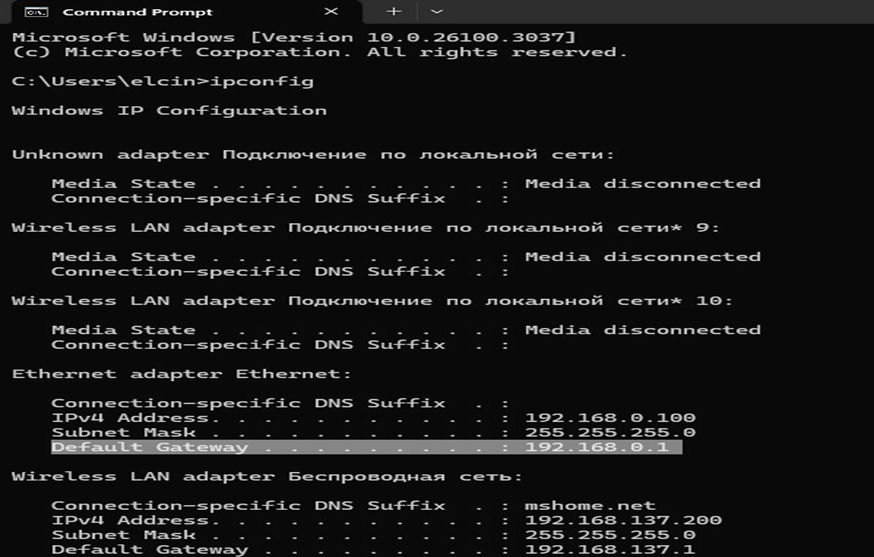
2. Connecting to the Router and Finding the IP Address The router was connected to the computer via an Ethernet cable, and the router’s IP address was found through Windows CMD:
a) CMD was opened
b) The ipconfig command was executed
c) The router’s IP address was determined: 192.168.0.1
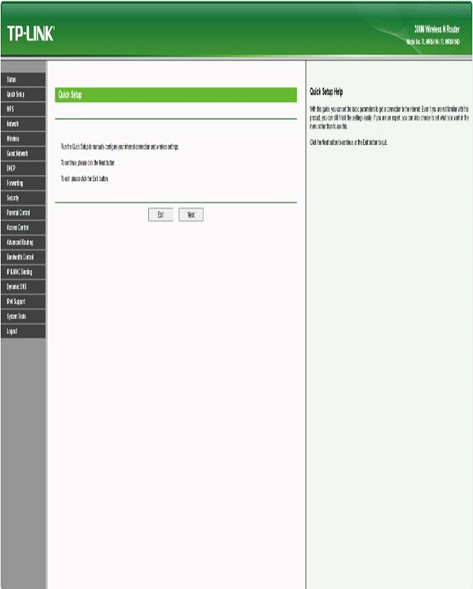
3. Logging Into the Router and Resetting
Since the router’s login information was unknown, it was not possible to log in using the default admin → admin credentials. To resolve this issue, the WPS/Reset button was pressed for 10-15 seconds to reset the router. After that, the default login credentials were used to access the router at the address 192.168.0.1.
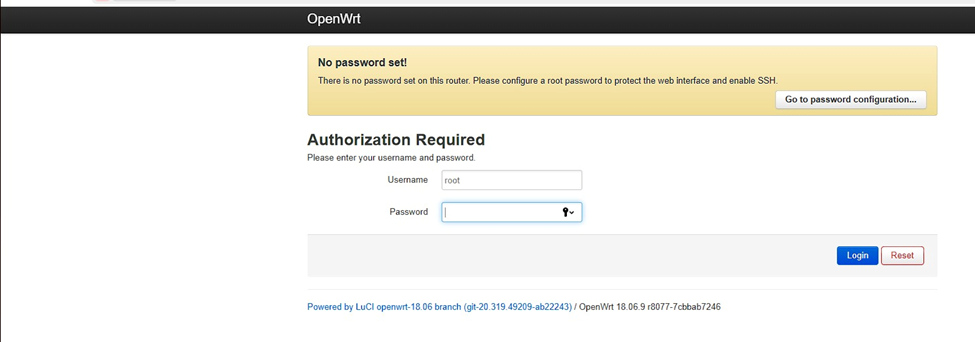
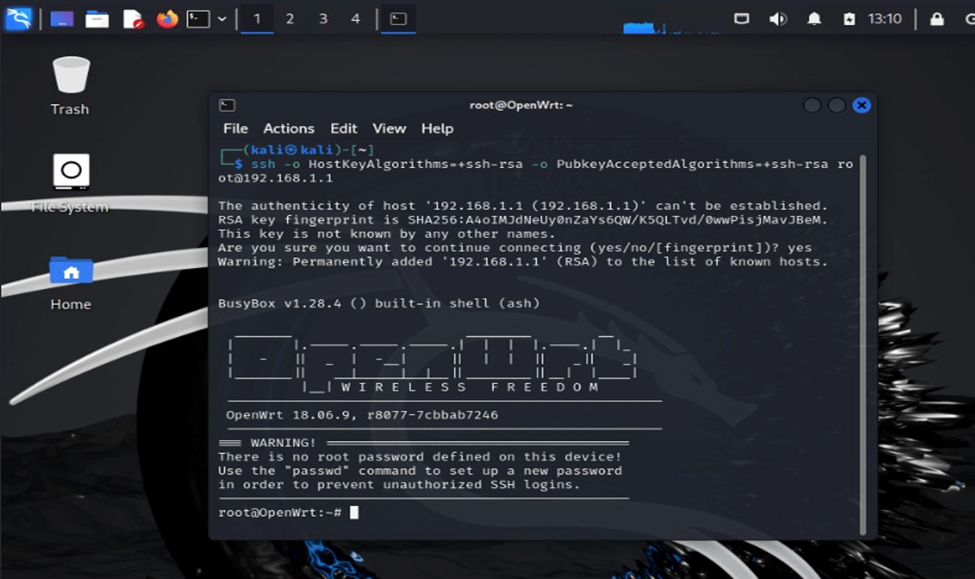
4. OpenWRT Configuration After installing OpenWRT, login was performed using the root username. A new password (123456789) was set.
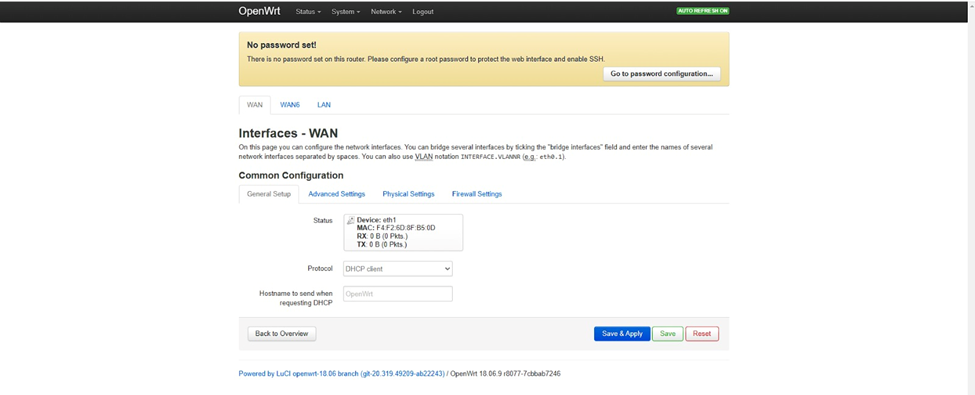
Network → Interfaces → WAN section was accessed, and the Protocol was set to DHCP.
5. Wi-Fi Security and Improvements
The Wireless settings section was accessed, and Network Security was activated. WPA2-PSK was selected as the security protocol.
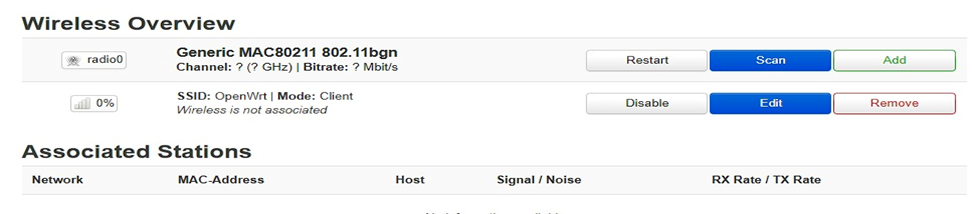
6. Activating Repeater (WDS) Mode To use the router as a Wi-Fi Repeater, WDS (Wireless Distribution System) was enabled:
Wireless → Wireless Settings → Interface Configuration → Mode → Client (WDS)
Wireless was enabled
After these steps, the router started working in repeater mode.
7. Installing Linux Virtual Machine
For using Linux on Windows, Oracle Virtual Machine was installed and Kali Linux was run inside it. However, after analyzing the steps on the website (hematyar.net), it was discovered that there was no need for the Linux system or the commands typed in the Linux CMD prompt to configure the TP-Link router.


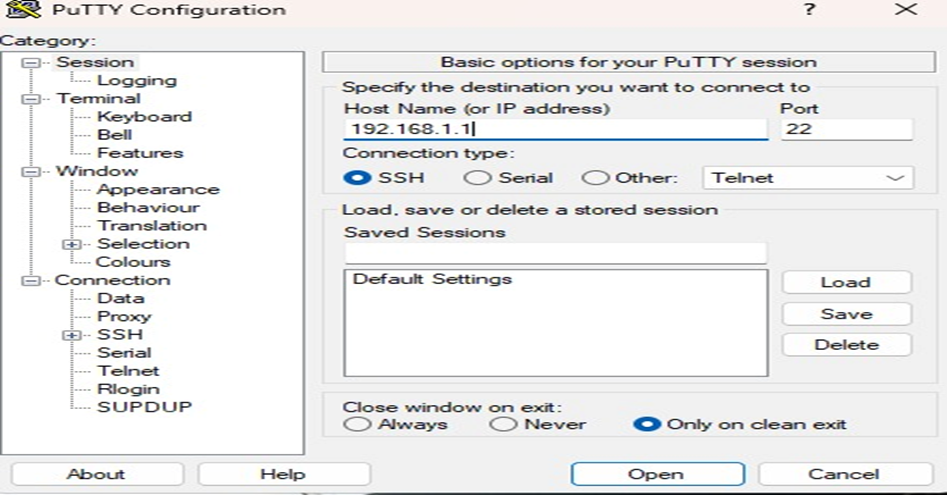
8. Uploading Sysupgrade via WinSCP and PuTTY
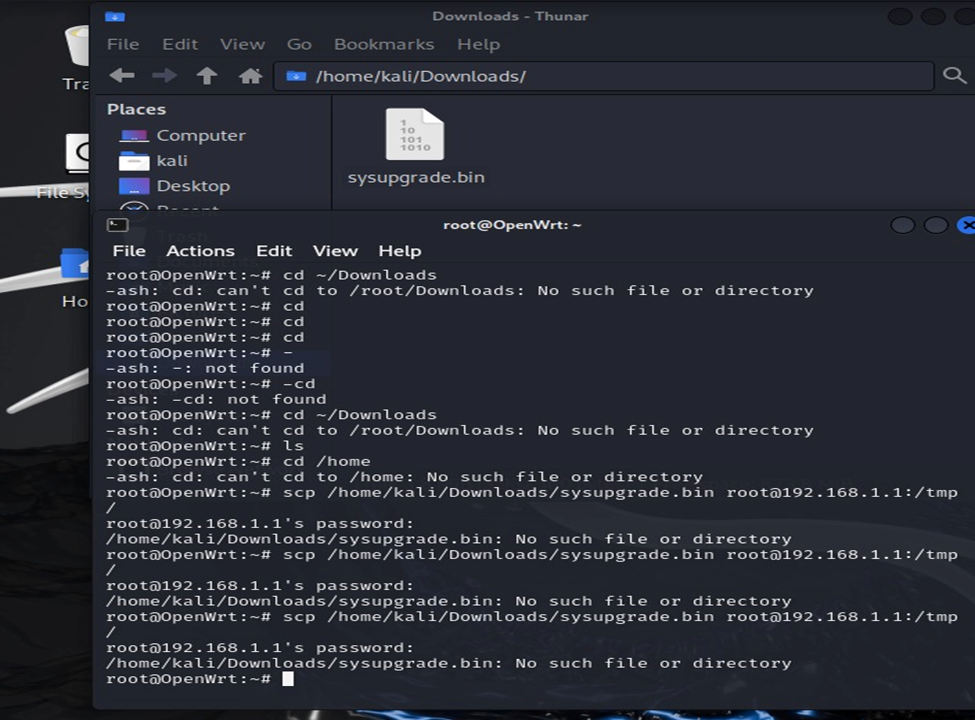
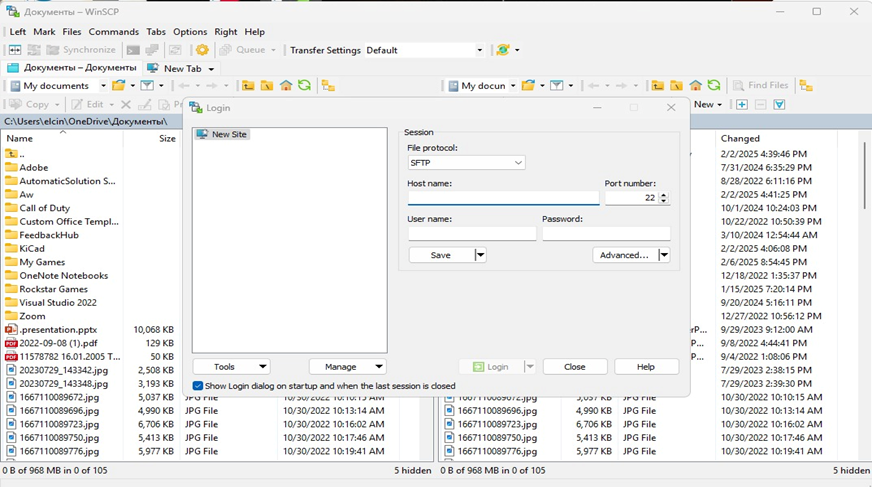
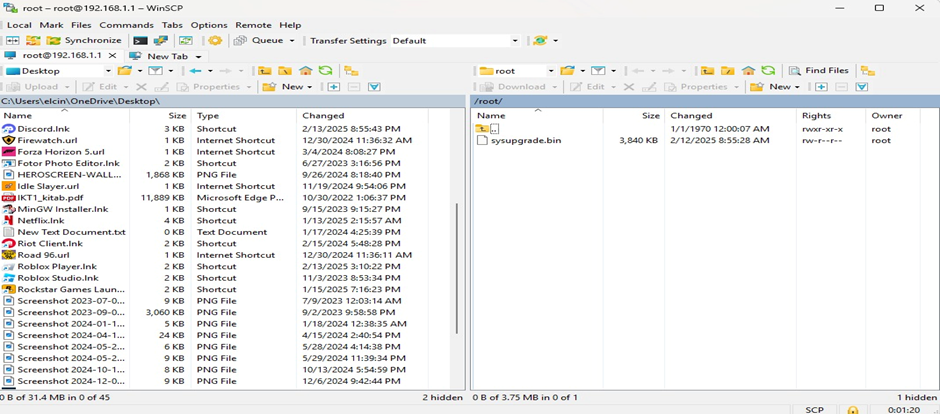
The steps on the website were analyzed. The Windows alternatives to the CyberDUck program used in Linux (WinSCP and PuTTY) were downloaded, and the sysupgrade file was transferred to the 192.168.1.1 IP address using these programs. Afterward, an attempt was made to connect to the system using PuTTY SSH client. Even though the correct password was entered, the connection could not be established.
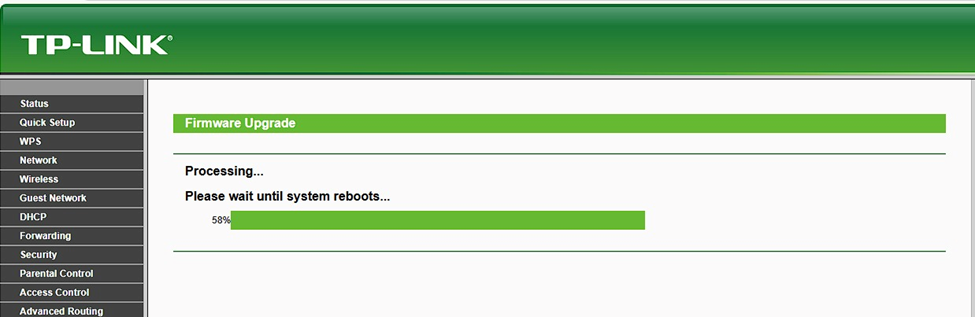
After further investigation, it was found that the sysupgrade image could be directly uploaded to the TP-Link router via the OpenWRT interface at the IP address 192.168.1.1. (OpenWRT fully supports direct sysupgrade image updates for TP-Link routers by users). The System → Backup/Flash Firmware → Flash new firmware image section was accessed, and the sysupgrade file was uploaded directly.
9. Final Configurations and Security
Once the upload was successfully completed, a strong password was set, and the system was logged out.